How to Pass Data from Parent to Child Component in Angular

- In the Parent Component‘s Class – Add a field (for example, parentProperty) that will store the data you want to pass to the child.
- In the Child Component’s Class – Add a property with the @Input() decorator (childProperty).
- In the Parent Component’s Template – Add the child component’s selector, which will “call” the component into the parent template.
- In the selector – wrap the child’s property into brackets and assign to it the parent’s property (<app-child [childProperty]=”parentProperty”></app-child>)
What is @Input() in Angular and How To Use It?
@Input() is a decorator which we add before a class property. It tells Angular that the current field will receive data from its parent component. Let’s create a basic Chore List app to show in practice how we can pass data to a child component using the @Input decorator.
Create a Basic Chore List App
1. Create an app using Angular CLI
Create an app using the Angular CLI command – ng new parent-to-child.
When you run it in the console, Angular will create the root App Component so we can use it as a parent component. Replace the generated HTML from the template with the following code:
<!-- app.component.html -->
<h1>I am the Parent Component</h1>
<h2> My child is below: </h2>
2. Create a child component
Let’s add a child component. Type ‘ng generate component child’ into the console and make sure you are in the app’s directory.
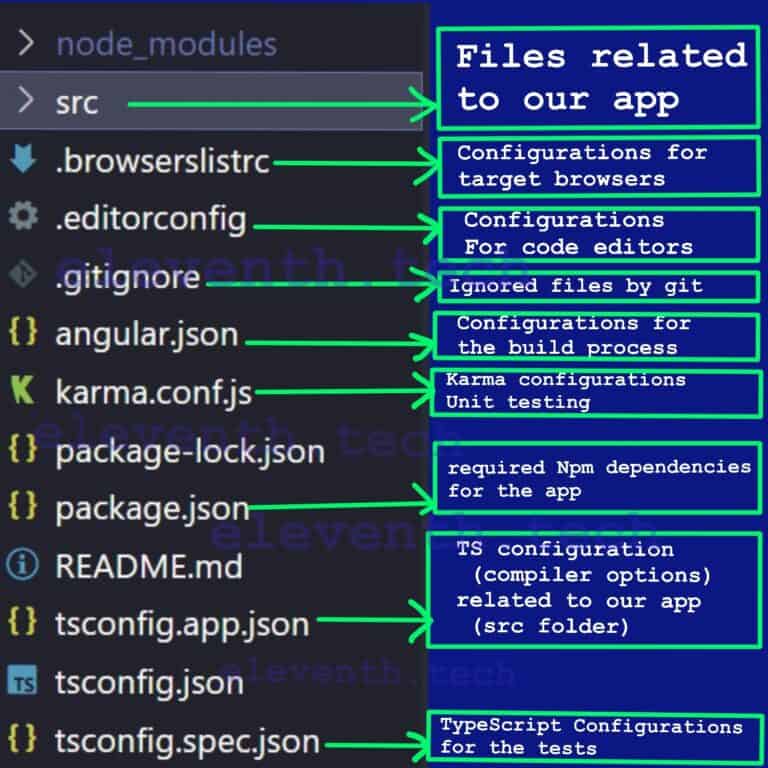
The command will produce four files related to our component. In the child.component.ts file, we can find the component selector that we will use in the parent template (when Angular locates it, it will render the corresponding component). Put some HTML in child.component.html to distinguish it from the parent.
<!--  child.component.html -->
<h2>I am a Child Component </h2>
3. Load the child component
In order to load the child component on the browser screen, we have to put its selector in the parent component (App Component).
<!-- app.component.html -->
<h1>I am the Parent Component</h1>
<h2> My child is below: </h2>
<!-- This is the child selector, It is defined in the child.component.ts file; -->
<!-- The child template will load here-->
<app-child></app-child>
It’s time to test what we have done. Run ng serve in the console to start the app and type http://localhost:4200/ into the address bar of your browser. If you see the same thing as the picture below, congrats!

4. Add data in the parent component
Add some dummy data in the parent’s class property.
It will be a list of objects that will contain all chores. An object will have a name for the chore and ‘completed’ property that will indicate whether the chore is done.
//--> app.component.ts
//This is the parent's class
import { Component } from '@angular/core';
@Component({
  selector: 'app-root',
  templateUrl: './app.component.html',
  styleUrls: ['./app.component.css'],
})
export class AppComponent {
//--> dummy data
  choresList = [
    { name: 'Washing dishes', completed: false },
    { name: 'Making the bed', completed: true },
    { name: 'Vaccuming', completed: false },
    { name: 'Dusting', completed: false },
    { name: 'Cleaning the bathroom', completed: false },
    { name: 'Laundry', completed: true },
    { name: 'Watering plants', completed: false },
    { name: 'Grocery Shopping', completed: false },
    { name: 'Cleaning out the oven', completed: false },
    { name: 'Cleaning the windows', completed: false },
  ];
}
5. Render the chores
We have to use the structural directive *ngFor in the parent’s template to render the list on the screen. It will loop all through the choresList property and create an <li> element for each list item.
<!--  app.component.html -->
<h1>I am the Parent Component</h1>
<h3>Chores</h3>
<ul>
<!--  chore is an item from choresList field of the class -->
<!--  chore.name correspods to the 'name' property of 'choresList'-->
<li *ngFor="let chore of choresList">{{chore.name}}</li>
</ul>
<h2> My child is below: </h2>
6. Filter the choresList array
Our app already shows the data of the App component, but we want to pass some data to the child. Let’s create a new field in the class that will hold all completed chores. Filter the choresList array to extract all completed chores.
import { Component } from '@angular/core';
@Component({
  selector: 'app-root',
  templateUrl: './app.component.html',
  styleUrls: ['./app.component.css'],
})
export class AppComponent {
  choresList = [
    { name: 'Washing dishes', completed: false },
    { name: 'Making the bed', completed: true },
    { name: 'Vaccuming', completed: false },
    { name: 'Dusting', completed: false },
    { name: 'Cleaning the bathroom', completed: false },
    { name: 'Laundry', completed: true },
    { name: 'Watering plants', completed: false },
    { name: 'Grocery Shopping', completed: false },
    { name: 'Cleaning out the oven', completed: false },
    { name: 'Cleaning the windows', completed: false },
  ];
//create new field; it will contains all completed chores
//--------------------------------------------------------
  completedChores = this.choresList.filter((x) => x.completed === true);
//--------------------------------------------------------
}
7. Define a field with @Input
The main goal is to send the completedChores array to the child component, so let’s create a field in the child’s class. We have to define it with the @Input decorator; therefore Angular will know that this field will receive the array from the parent component. Name the field completedTask and add an interface that will define the type of the array.
//--> child.component.ts
import { Component, Input } from '@angular/core';
//an interface that defines the type of the array
interface ITasks {
  name: string;
  completed: boolean;
}
@Component({
  selector: 'app-child',
  templateUrl: './child.component.html',
  styleUrls: ['./child.component.css'],
})
export class ChildComponent {
//--> We defined this as an Input. It will receive the data from the parent
  @Input() completedTasks: ITasks[] = [];
}
8. Sending completedChores to the child
Thus far, our App Component renders choresList; we want to send the value of completedChores from the parent to the completedTasks field in the child’s class. The data will be passed from the parent template through the selector of the child component. In the ‘app.component.html’ file, our child component’s selector looks like <app-child></app-child>. We have to wrap completedTask from the child’s class into brackets and assign to this property the data we want to pass (completedChores from the parent) – <app-child [completedTasks]=”completedChores”></app-child>. This process is called Property Binding in Angular.
<!-- app.component.html -->
<h1>I am the Parent Component</h1>
<h3>Chores</h3>
<ul>
  <li *ngFor="let chore of choresList">{{chore.name}}</li>
</ul>
<h2> My child is below: </h2>
<!----------------------------- -->
<!--  The child's field (completedTasks) will receive the data from the parent as a value of completedChores -->
<app-child [completedTasks]="completedChores"></app-child>
<!----------------------------- -->
9. Render the data
Our child component has already received the data, so we want to render it on the screen. Use *ngFor in the child template to loop through the completedTasks array.
<!-- child.component.html -->
<h2>I am a Child Component </h2>
<h3> Chores Completed</h3>
<ul>
<!--  each chore will be rendered in a <li> element -->
  <li *ngFor="let task of completedTasks">{{task.name}}</li>
</ul>
Your screen should look like the below image.

Summary
Passing data from parent to child component happens by using the @Input decorator for the child’s field. We can pass the data by wrapping the child’s property into brackets and assigning to it the value we want to pass.


